Common Laser Scanning Survey Mistakes and How to Avoid Them
Discover the most common laser scanning survey mistakes, why they happen, and how to avoid them with practical guidance from those who know the discipline best.


Discover the most common laser scanning survey mistakes, why they happen, and how to avoid them with practical guidance from those who know the discipline best.
Every experienced laser scanner operator has a story about a project that did not go as planned. A site revisit that could have been avoided. A registration error spotted in the office that meant half a day’s scanning was unusable. A deliverable that fell short of the client’s accuracy requirement because the brief was misread. These are not signs of incompetence. They are the normal learning curve of a demanding discipline. The good news is that the most common mistakes follow predictable patterns, and once you know what to watch for, most of them are straightforward to prevent. This guide works through the key ones, with practical guidance on what to do differently. For a detailed explanation of the accuracy concepts and factors that underpin several of these points, see our companion guide on laser scanner accuracy.
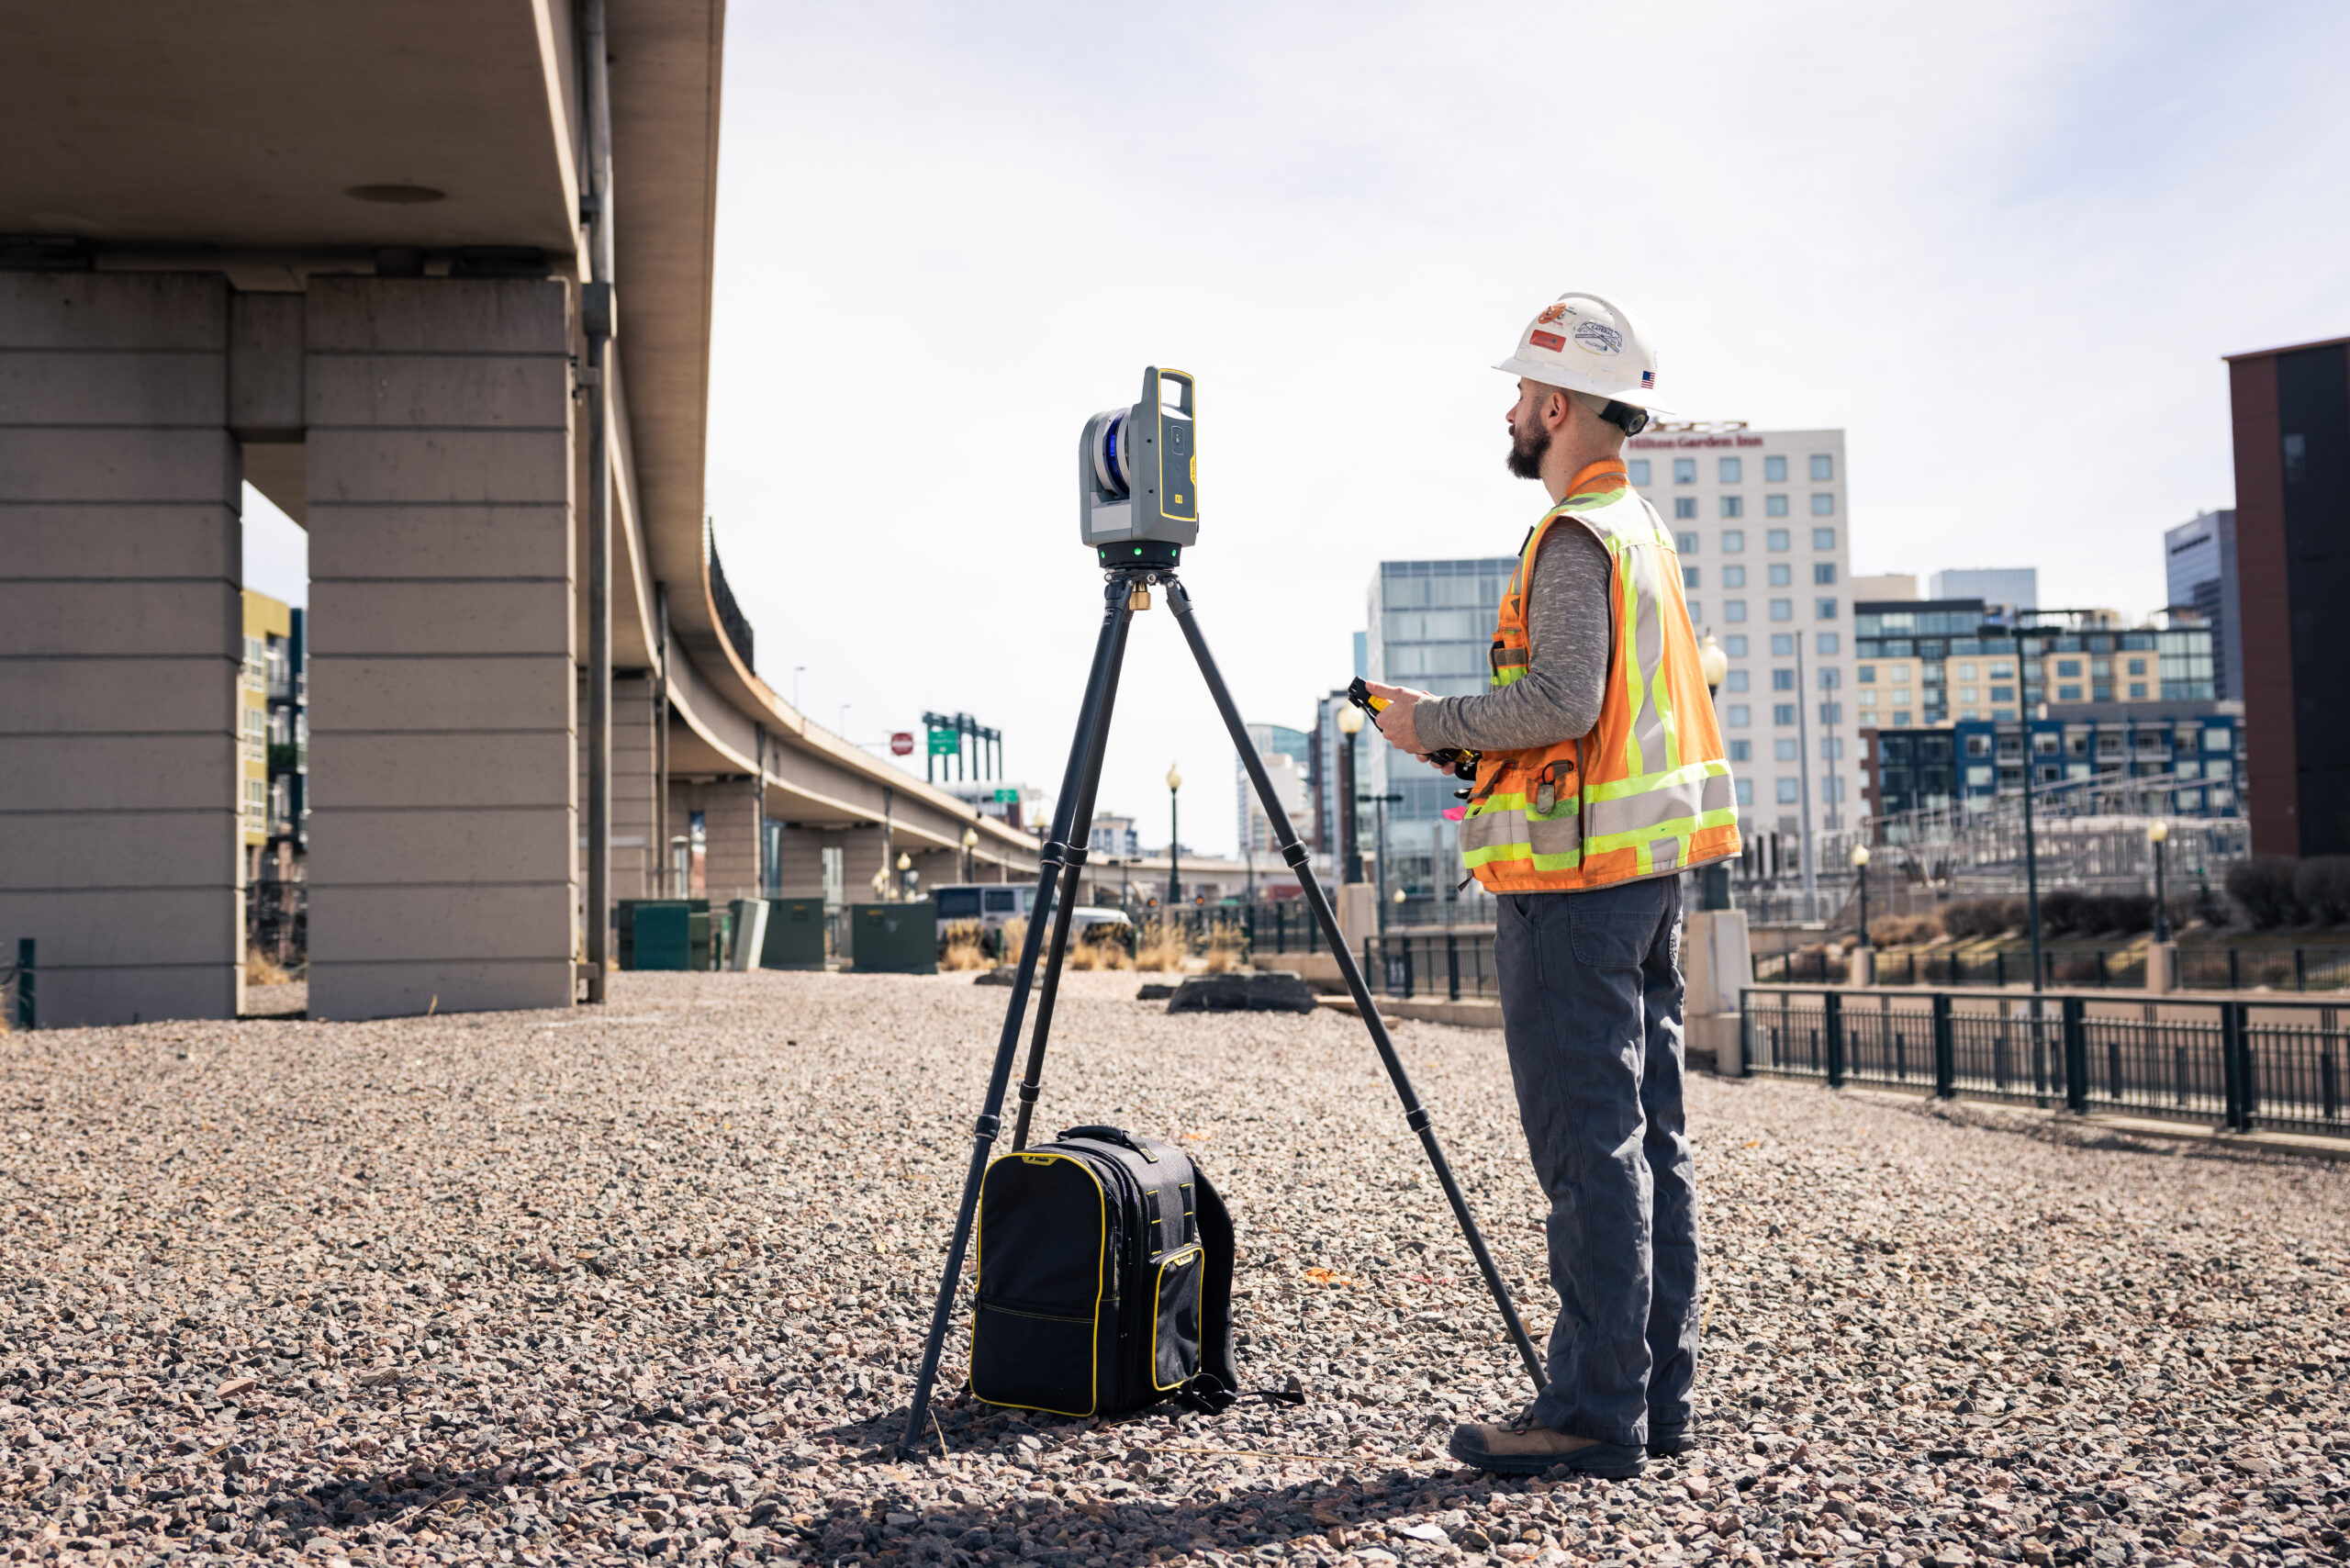
Walking a site before the scanning day is one of the highest-return investments of time in the entire project. It tells you where the problem areas are: the low-ceiling plant room that will need extra scan stations, the courtyard that has no clear sightlines between positions, the section of floor that will be covered by parked vehicles on the day. It lets you plan scan station positions on paper, estimate the number of scans required, and identify access constraints that need resolving in advance. Operators who skip this step because the site looks straightforward from a plan frequently find on the day that it is not. On complex or restricted-access sites, a pre-survey visit is not optional. On simpler sites, even a short walk-through on a previous visit or a thorough review of existing drawings alongside a conversation with the site contact will identify most of the surprises before they become problems.
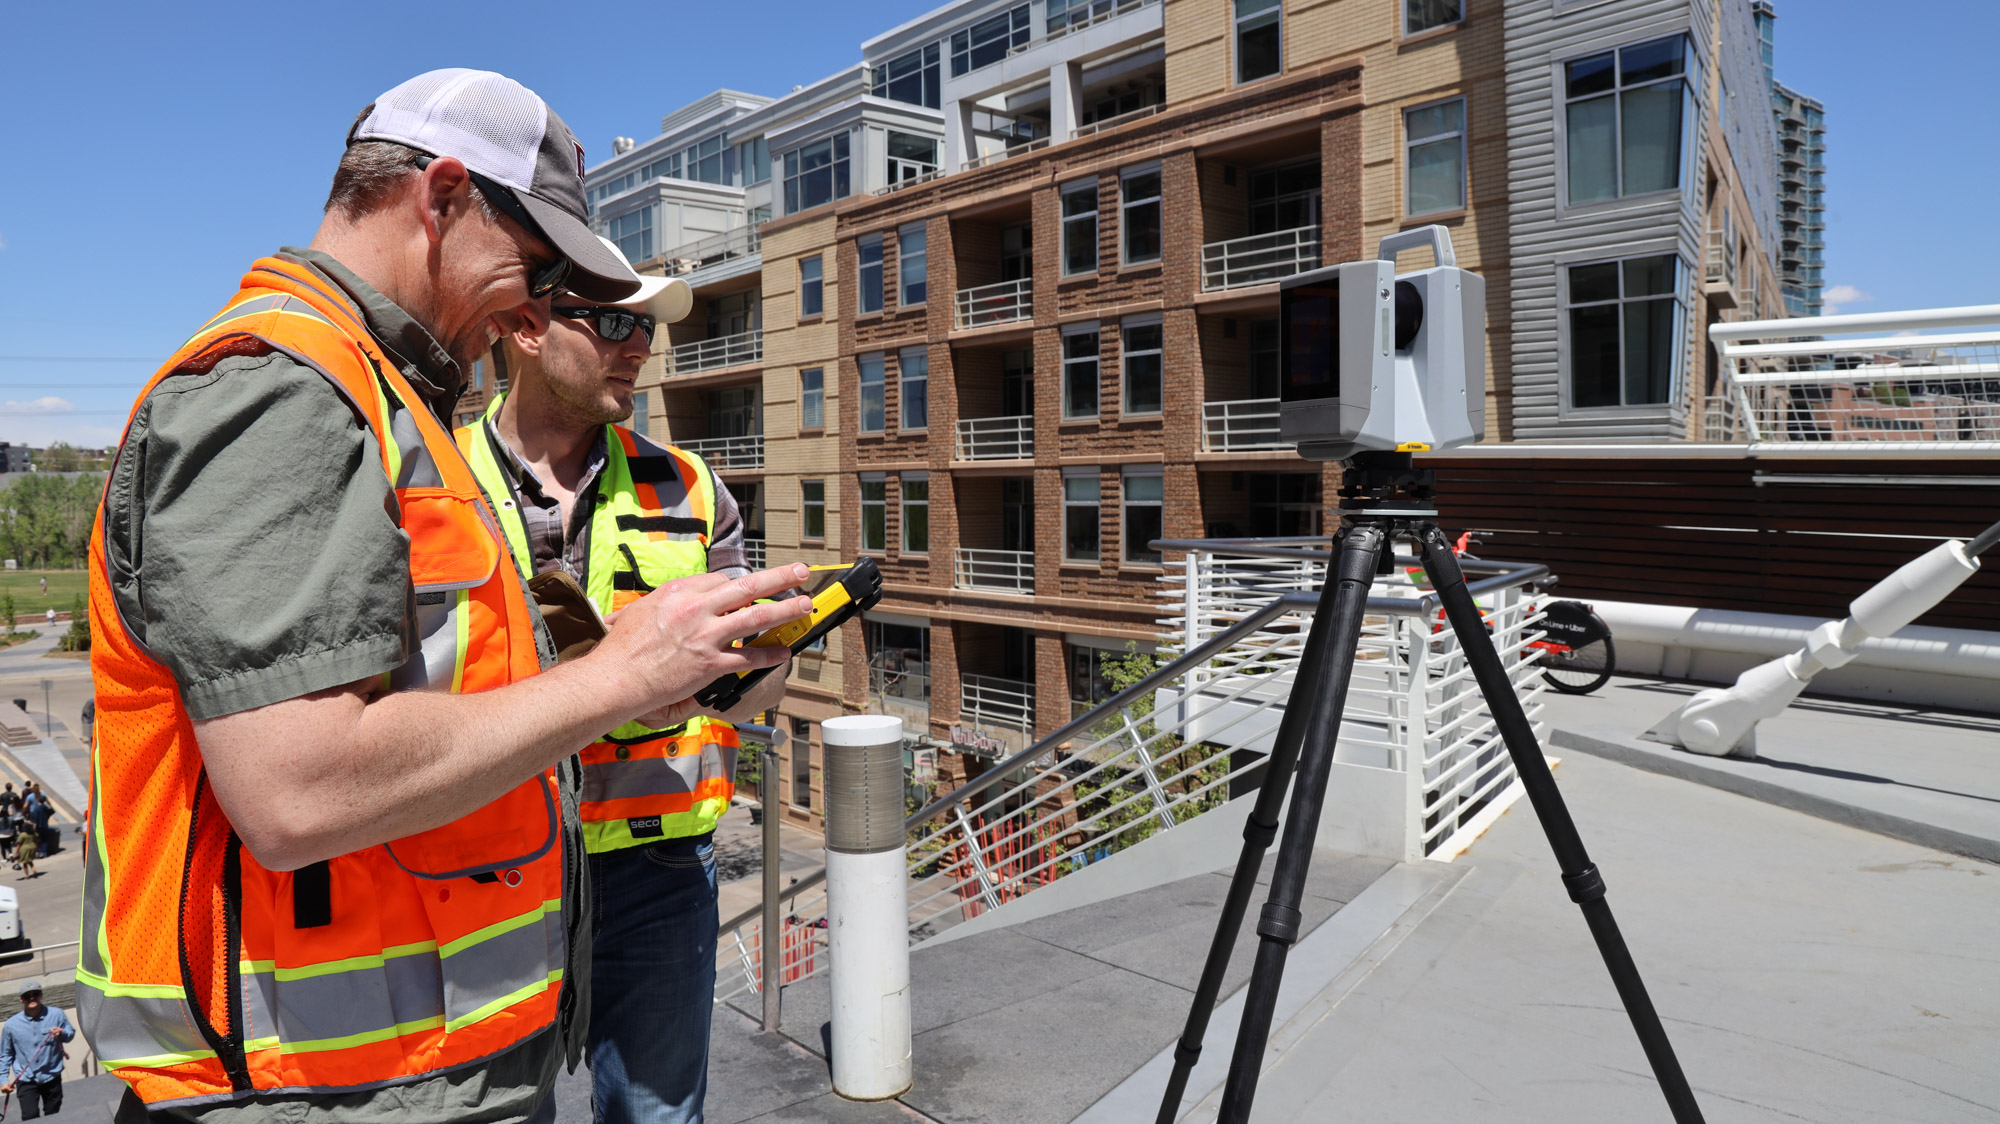
One of the most consistent causes of insufficient data is planning too few scan positions. The temptation is to minimise the number of setups in order to work faster. The result is coverage gaps, areas scanned at excessive range where accuracy suffers, and blind spots behind objects that are only discovered during registration. A useful discipline is to plan scan positions conservatively, then ask whether each planned position will genuinely provide adequate coverage of every surface that needs to be captured. On a measured building survey, every room typically needs at least two scan positions; complex spaces with columns, alcoves, or split levels need more. The Trimble X7 and X9 both support in-field registration through Trimble Perspective, which lets you verify coverage before leaving a space and add an extra scan position on the spot if a gap is identified. That capability alone prevents a significant proportion of costly return visits.
Rain, direct sunlight, dust, smoke, and rapidly changing temperature all affect scan quality in ways that are not always obvious until data is reviewed. Rain and wet surfaces reduce signal return strength and increase noise. Direct sunlight entering through windows or doors can cause interference that corrupts data in affected areas. Dust and smoke scatter the laser, producing false returns that pollute the point cloud. Scanning a building exterior on a hot afternoon in direct sun with shimmering heat haze off a dark roof will produce noticeably worse range accuracy than the same scan taken on a cool overcast morning. Where you have any control over timing, schedule scans to minimise these effects. Where you do not, document the conditions and flag any areas likely to be affected.
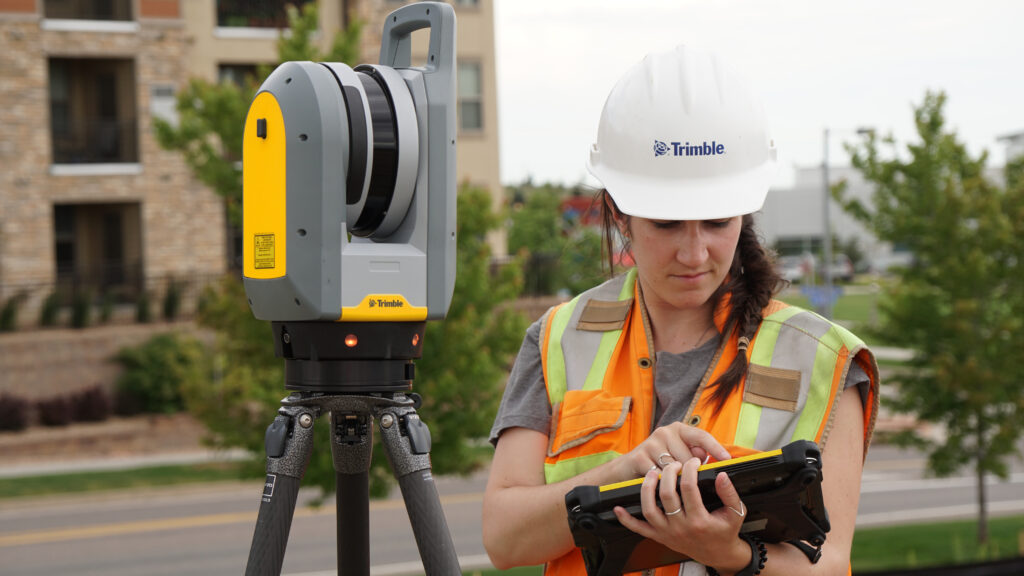
Calibration is the foundation of accurate data. An instrument that has drifted out of calibration will produce results that appear internally consistent but are systematically wrong, and the error may not be apparent until the data is compared to an independent check. The Trimble X7 and X9 both perform automatic self-calibration before each session, monitoring temperature, vibration, and other parameters to maintain accuracy without manual intervention. This removes the most common calibration failure mode. For instruments without this feature, always run the manufacturer’s calibration routine at the start of each working day, and re-run it if the instrument has been transported between locations or has experienced a knock.
Scanning at higher resolution than the project requires wastes time on site and creates larger datasets that take longer to process. Scanning at lower resolution than the project requires produces data that cannot support the deliverable, and no amount of processing will recover detail that was never captured. Set scan resolution based on the smallest feature that needs to be reliably represented in the output, and the maximum range at which that feature will be scanned from. For a standard measured building survey, a point spacing of 6 to 10 mm at 10 metres is typically sufficient. For fine architectural detail or industrial plant surveys where small pipe diameters or flanges need to be identifiable, a finer resolution is needed. Document your resolution settings for every project so that if a question arises later about the data density, you have a clear record.
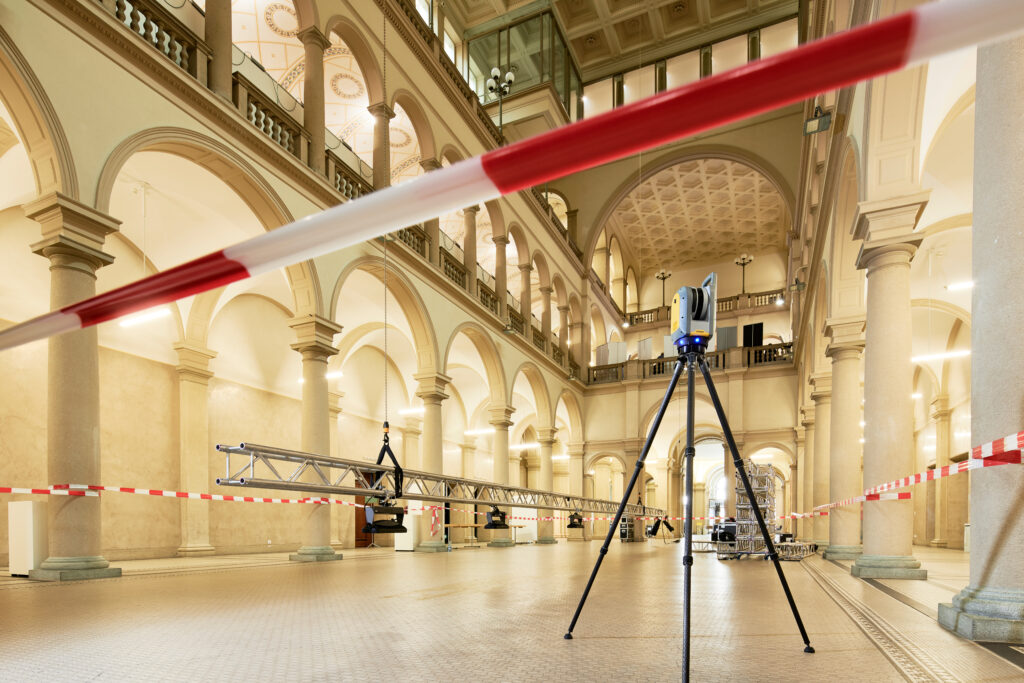
Registration targets are the spatial anchors that allow individual scans to be stitched together. Targets placed too close together, all in a line, or concentrated in one area of the site do not provide the geometric strength needed for robust registration. Each target needs to be visible from at least three scan positions; targets placed where they can be seen from only two provide no redundancy. Distribute targets at varying heights as well as positions: targets all at the same elevation allow horizontal registration errors to go undetected. On a multi-storey building, targets placed on stairs or ramps that span floors are particularly useful. As a general rule, if you are in doubt about whether you have enough targets, add more: the time cost of placing an extra target is minimal compared to the time cost of a failed registration.
Discovering a data gap after leaving site is one of the most frustrating experiences in laser scanning, and it is almost entirely avoidable. The standard discipline is to review your scan coverage in the field software before closing down each area. Trimble Perspective, which runs on a tablet connected to the Trimble X7 or X9, displays a live 3D view of the registered scans as you work, making it straightforward to identify gaps and missing surfaces while you are still on site to do something about them. Customers who have switched to the Trimble X7 or X9 from earlier equipment consistently cite this in-field registration capability as the single feature that has most changed their working day, removing the anxiety of not knowing whether the data is complete until it is processed in the office.
Point clouds do not explain themselves. When a dataset is revisited six months later, or handed to a colleague for processing, the conditions under which it was collected are often critical to interpreting ambiguous areas. Recording scan station positions on a sketch plan, noting any areas of difficult conditions or compromised coverage, logging the equipment used and calibration status, and photographing any features that the scanner cannot capture reliably takes fifteen minutes on most projects and prevents hours of confusion later. On projects where the data may be used as evidence, for example forensic surveys or condition surveys supporting legal disputes, thorough field documentation is not optional.
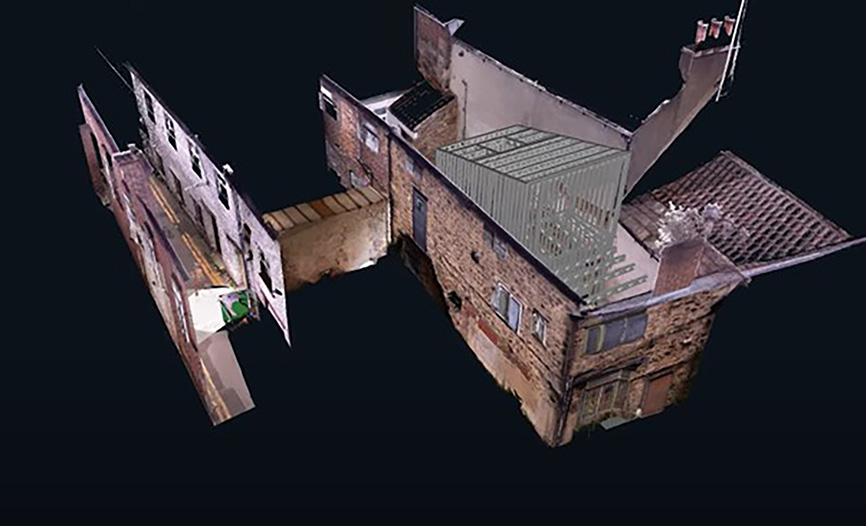
Registration software produces residual error figures that indicate how well individual scans align. High residuals are a warning, not a number to dismiss or override. A registration that closes with a residual of 8 mm when you expected 3 mm is telling you something: a target that was disturbed between scans, a scan that was taken after the tripod shifted, or a systematic error in one area of the survey. Investigate before proceeding. Identifying and removing the problem scan, re-scanning a position, or adding additional tie points to constrain the registration is always faster than discovering the error at the deliverable stage. Set a project-specific residual threshold before you start and treat any scan that exceeds it as flagged for review rather than automatically accepted.
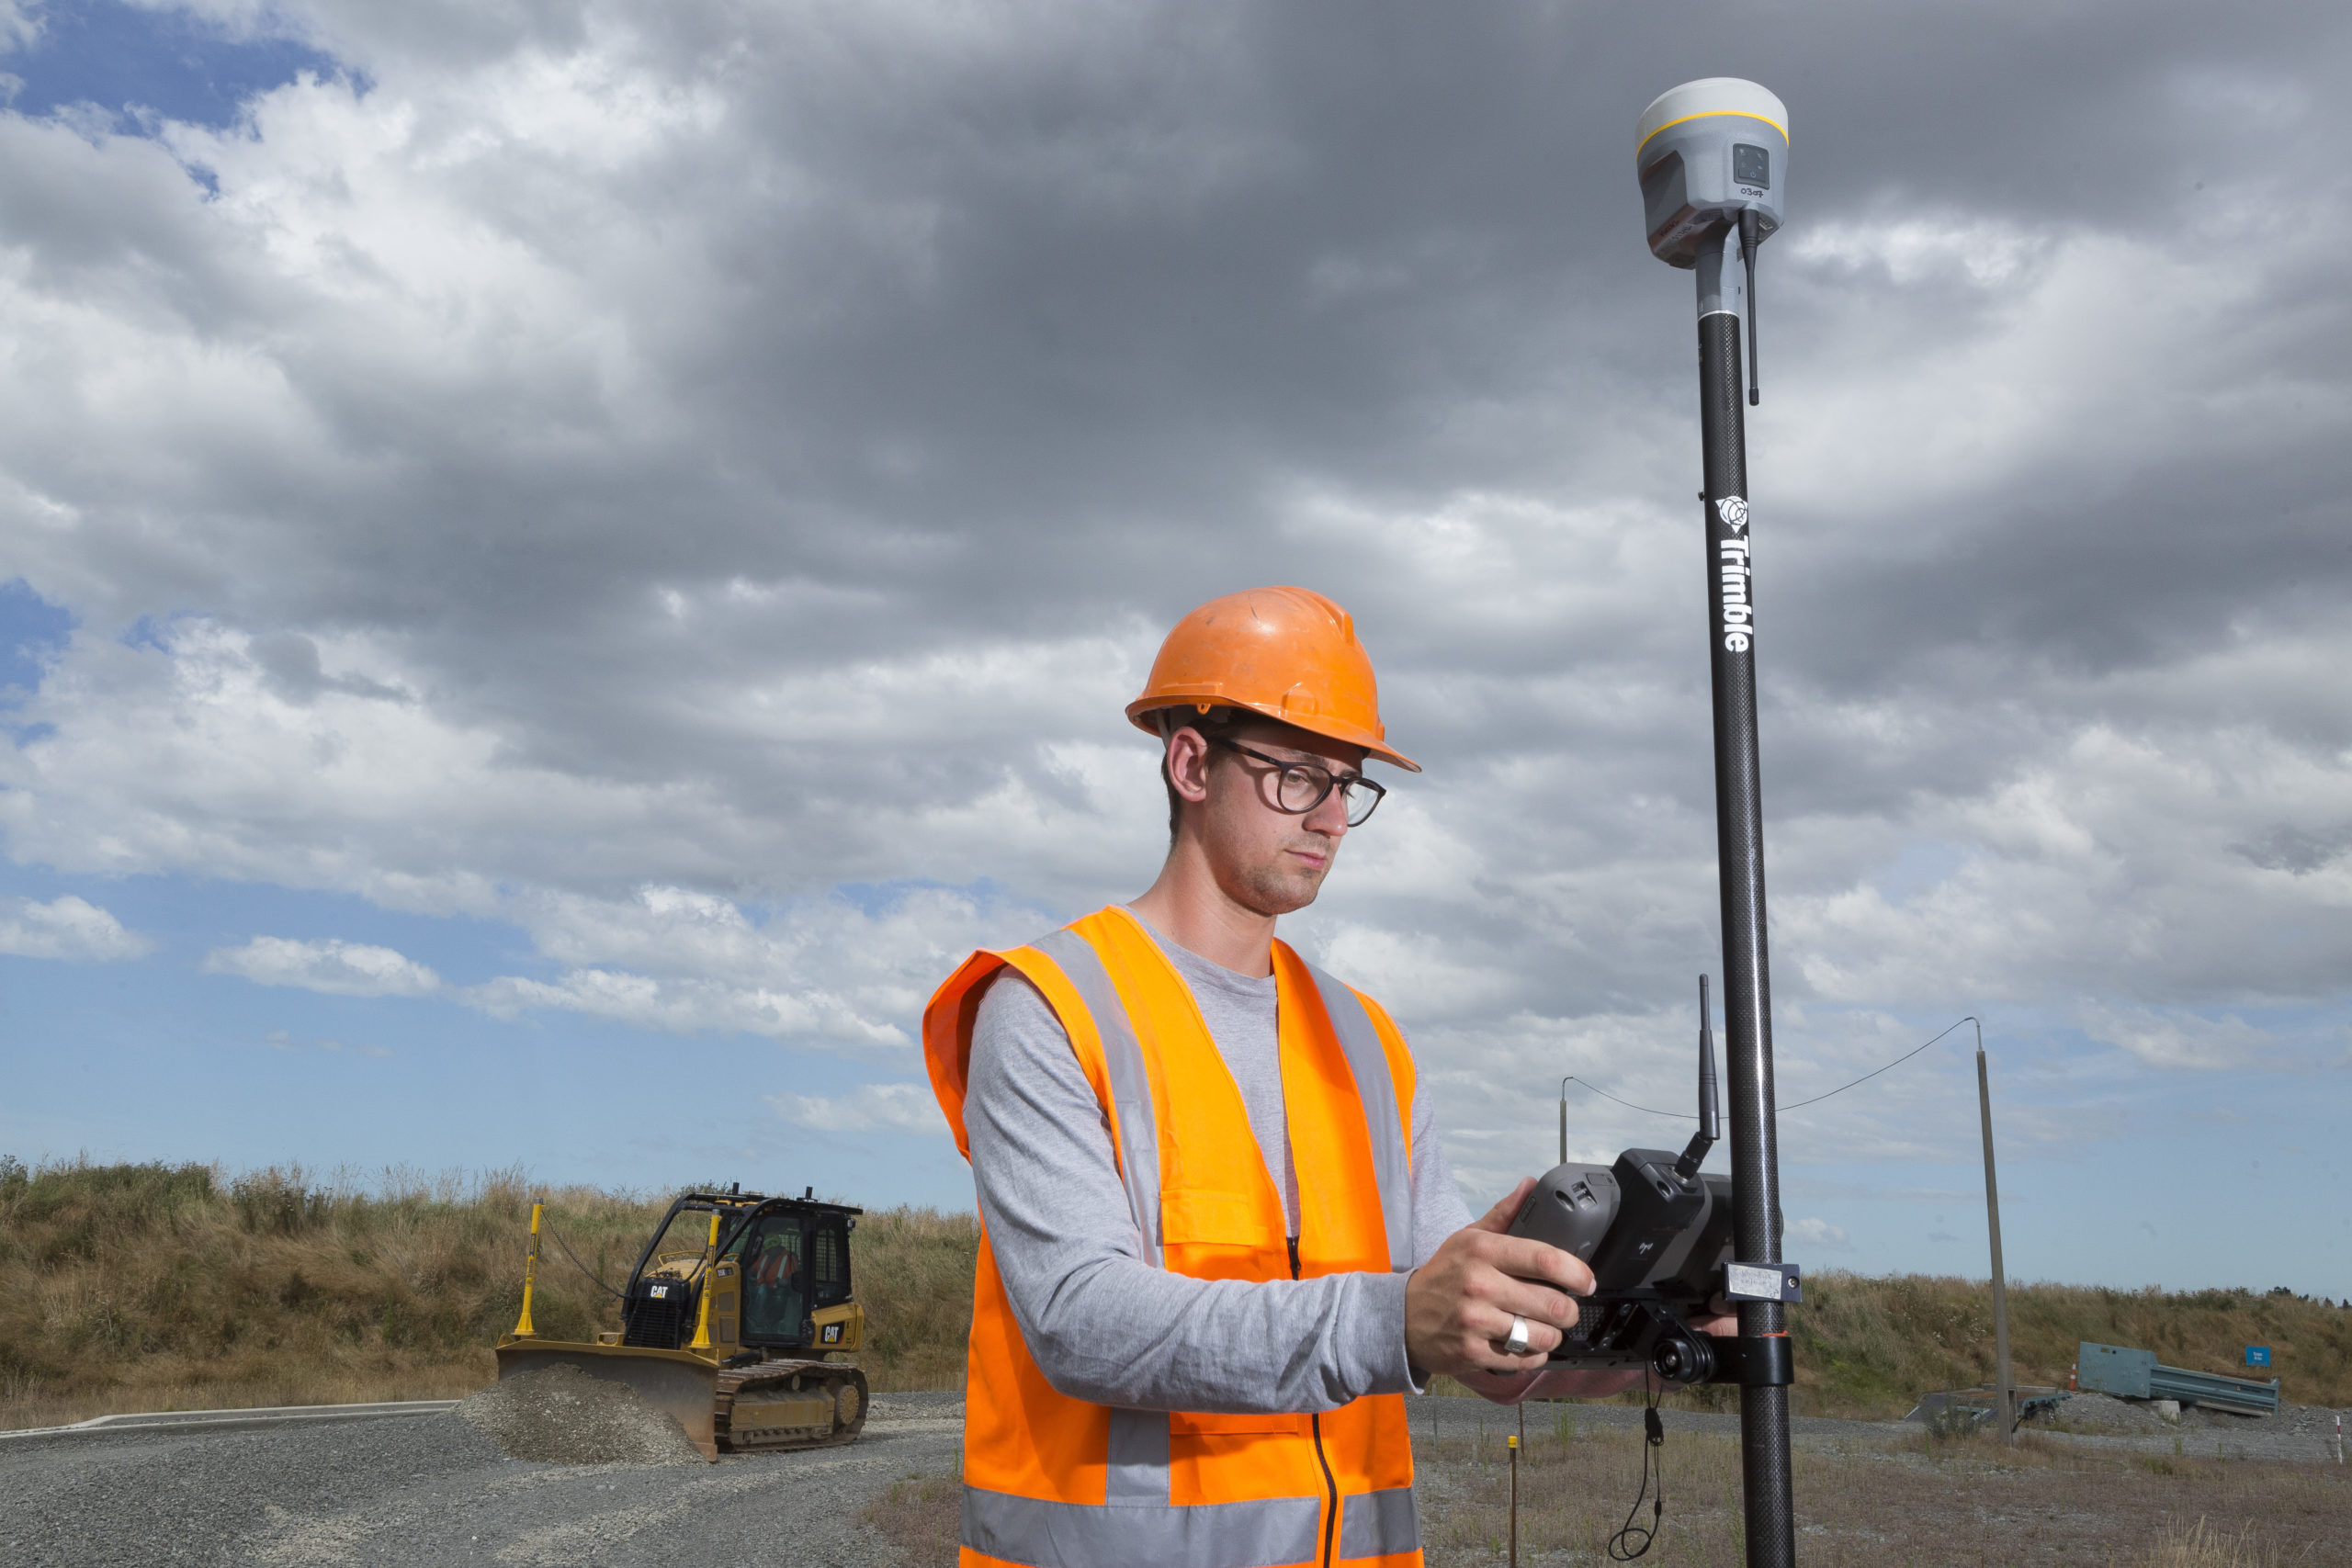
A point cloud registered in the wrong coordinate system, or with an incorrect transformation applied, will appear internally correct but will be offset from every other dataset it needs to relate to. For projects where the scan data must align with existing survey control, GPS data, or CAD drawings in a defined coordinate system, always verify the alignment against at least two known points before committing to the registration. For UK projects, confirm whether the client requires British National Grid coordinates with OSGM15 heights, a local site grid, or another reference frame, and configure the processing accordingly before capture begins. Correcting a coordinate system error after the point cloud has been delivered is time-consuming and damaging to client confidence. Preventing it is a ten-minute conversation at the project briefing stage.
The single most common source of rework on laser scanning projects is a mismatch between what the operator assumed the client needed and what the client actually needed. A BIM manager expecting an IFC model of a complete building floor to LOD 300 has different requirements from a facilities manager who wants a simple 2D floor plan to check room dimensions. Both might describe their need as ‘a scan of the building’. Asking explicitly what deliverable is required, in what format, to what accuracy, and by what deadline before mobilising takes five minutes and prevents the most expensive category of project failure. The Trimble SX12 scanning total station is particularly well suited to projects that require both a georeferenced survey and a point cloud, but knowing which is needed, and whether both are required, is a conversation that needs to happen before the instrument is unpacked.
Field time is only part of a laser scanning project. Registration, cleaning, classification, and deliverable production from a large dataset can take several times longer than the capture itself. New operators consistently underestimate this, leading to missed deadlines and the temptation to cut corners in processing. Build processing time into project quotes and schedules from the outset, and review those estimates against actuals after each project to build a reliable picture of your typical processing workflow. Trimble RealWorks, used alongside the Trimble X7 and X9, is designed to minimise processing time through automated registration and efficient data handling, but the time savings from good software are only realised if the workflow is planned to use them.
The Trimble X7, X9, and SX12 scanning total station are all available from KOREC, alongside Trimble Perspective, Trimble RealWorks, and Trimble Business Center software, training, and full workshop support across the UK and Ireland. If you are building a scanning capability for the first time or looking to improve the consistency of your results, our team is on hand to help. Explore the full laser scanning range from KOREC, or find out more about scanning applications in surveying, construction, and mapping and GIS.
KOREC can advise you on the right laser scanner for your project. Speak to our friendly experts today to get the right technology to solve your business challenges.