The setting out process is vital for construction projects because it is the link between the digital plan and the physical work. One of the best tools for setting out is the total station as it provides multiple benefits to the planning process and subsequent works.
A total station ensures accuracy in all measurements while providing the data needed to create digital models of the terrain and the building.
Let’s break down how the entire setting-out process works with a total station.
Step 1: Getting Started with Your Total Station
There are three steps to getting started with your total station. First, you must understand the components of your equipment, then you can set up the total station on the survey point, before beginning the levelling and calibrating process. Let’s look closer at each of these first three steps:
Understanding the Components of a Total Station
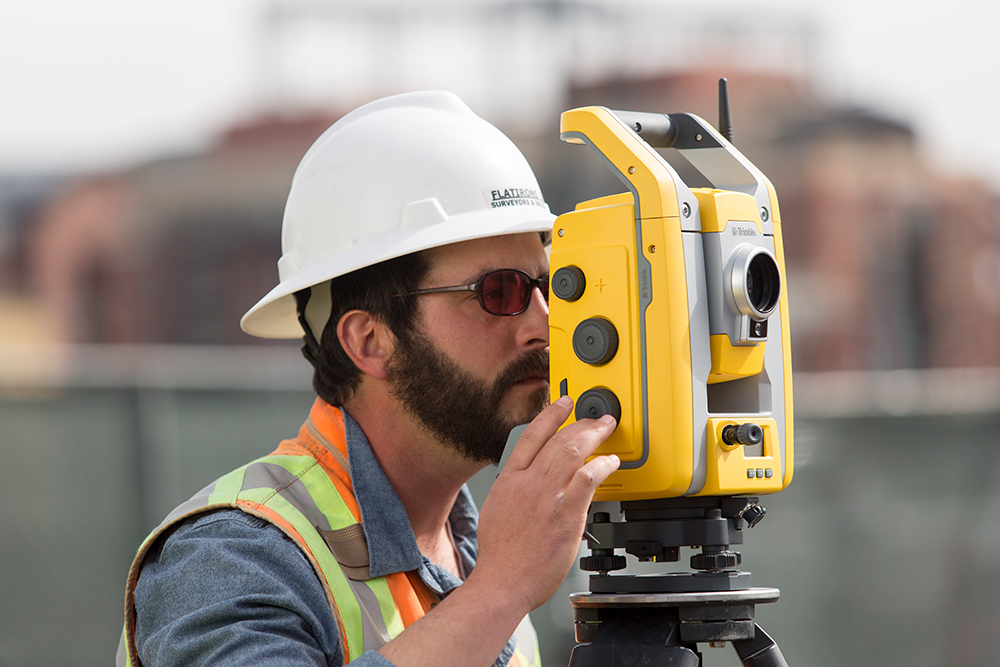
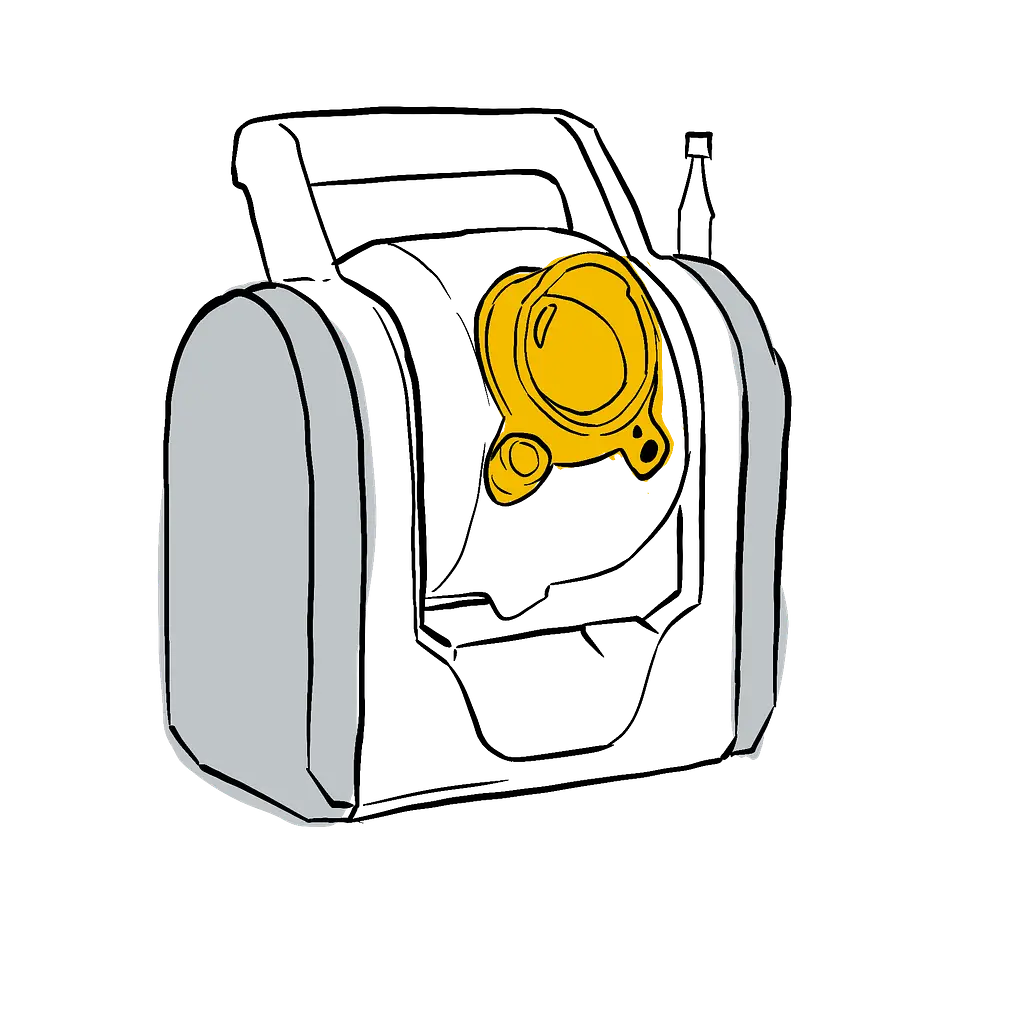
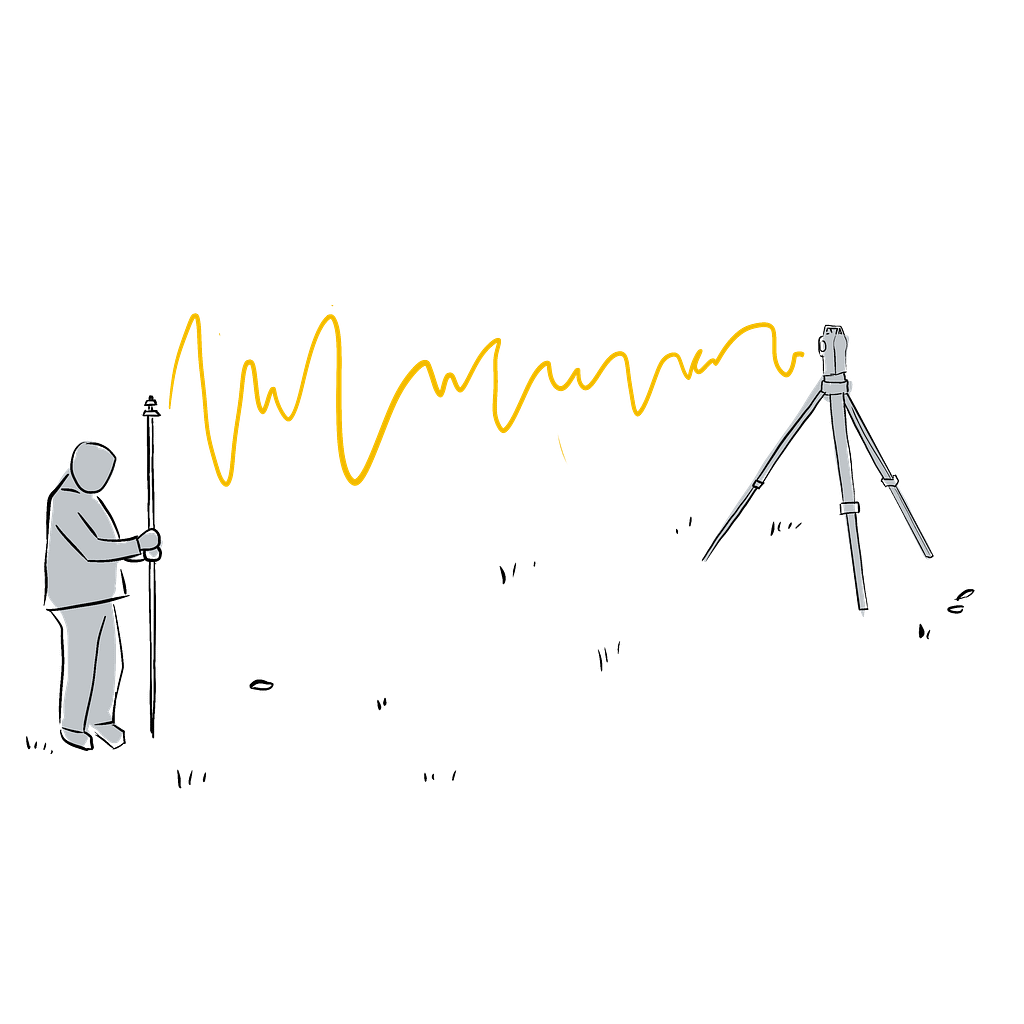
Total stations consist ofthree pieces of kit. The first piece is the telescope and optics, with the latter element being a theodolite for measuring horizontal and vertical angles. The second piece is the Electronic Distance Measurement (EDM), which measures the distance between the total station and a reflector. The third piece is the Electronic Control Unit, which provides a visual overview of the total station’s activities and readings.
Set-Up of Your Total Station on the Survey Point
After gathering all of the necessary equipment, begin setting up your total station by establishing and marking a point of reference using a stake or nail. Place the tripod directly over the point of reference, and proceed to attach the tribrach and course level. Now place the total station on the tripod, attach the power cables and start up the controller.
Levelling and Calibrating the Total Station
There may be some necessary fine-tuning needed to ensure the total station is directly over the point of reference. Achieve this by adjusting the equipment using the fine level until the total station is directly over the marked reference point on the ground. Finally, make sure that the total station is perfectly level.
Step 2: Data Collection and Preparation
After the total station is set up and levelled, you are almost ready to begin taking sightings. But first, you will need to identify the correct coordinate system to use and input the project data. It is also vital you understand the control points, benchmarks and datums before establishing your data collection plan. Let’s walk through this part of the set-up:
Choosing the Right Coordinate System
The size and complexity of the project will usually determine the ideal coordinate system. Smaller sites may benefit from a projected coordinate system for higher accuracy and consistency, while larger sites may benefit from the efficiency of geodetic coordination.
Inputting Relevant Project Data
Once you have identified the ideal coordinate system, you can input the relevant project data into the total station to sync the planned layout with the measurements and readings about to be taken.
Understanding Control Points, Benchmarks and Datums
Control points are reference points that have known coordinates used to create a consistent coordinate system.
Datums are singular pieces of data that serve as reference points by which measurements can be made.
Benchmarks are permanent reference points consisting of an established elevation.
Establishing a Data Collection Plan
There are different ways of collecting data from a total station. Some models are equipped with internal electronic data storage. Other models transfer the measurements to an external data collection source, which is then used by software to generate a map of the site and project.
Step 3: Setting Up Control Points
The next part of setting out with a total station is to perform the layout by setting up the control points. Let’s break down this process into four stages:
Selecting Control Point Locations
Control points can be any points located on the boundary of the site being surveyed. They will usually be points of either maximum or minimum elevation or may consist of a significant feature. Each control point should be visible to at least three other control points.
Marking Control Points
There are multiple ways to mark a control point, including using a stake or nail driven into the ground or spray paint to mark the spot.
Using Known Coordinates
A known coordinate is a surveyed point that has an established x-y coordinate value. Known points enable a surveyor to extend and expand survey computations across a large project area.
Verifying Control Point Accuracy
Once all control points have been laid out and marked, you will need to check their accuracy by measuring them again with the total station. Compare the measurements with either the entered or preloaded coordinates to check for discrepancies. Make any adjustments accordingly.
Step 4: Basic Total Station Operations
Every surveyor must have a solid grasp of basic total station operations. They are as follows:
Basic Total Station Controls and Functions
As mentioned above, the theodolite measures horizontal and vertical angles, while the EDM measures the distance between points. The electronic display provides a visual overview of the horizontal distances, vertical distances, angles and key elevations. Some advanced total stations feature dual-colour touchscreen displays.
Aiming and Centering the Total Station
The accuracy of the angle measurements is very important for plotting relative positions, orientations and points in surveying and construction. Always ensure your total station is centred and aimed correctly.
Measuring Horizontal Angles
Use your total station to measure horizontal angles, which represent the rotation in the horizontal plane, otherwise known as the azimuth.
Measuring Slopes and Elevations
Also, measure the vertical angle, which is a representation of the rotation in the vertical plane, also known as the elevation or zenith.
Recording Data Points
Your total station will have a microprocessor with a memory unit that records all of your measurements, readings and calculations. The data can be stored internally on the total station or exported into formats such as BIM and CAD software.
Step 5: Conducting Angle and Distance Measurements
Taking accurate angle and distance measurements is much easier with a total station. When set up correctly, total stations can measure angles and distances with an accuracy of up to 1mm. This precision measuring makes the job of setting out your building project much quicker and more efficient.
However, it is important to avoid making any of the common measurement errors when using a total station. The two most common measurement errors are an angle being read incorrectly, and information being entered incorrectly into the field book. Surveyors should also ensure they understand how to avoid circle eccentricity, horizontal collimation and other collimation errors.
Step 6: Stakeout Procedures
As staking out is one of the most common uses of a total station, it is important to understand the stakeout procedure. That begins with understanding the concept of stakeout points.
Understanding Stakeout Concepts
The concept of a stakeout is to horizontally and vertically map out where certain construction elements will be placed, such as foundations, columns and paving. This typically involves driving wooden stakes into the ground at measured points, which will then guide the contractors as they begin their work. This staking-out procedure helps contractors understand how far above or below a surface an element needs to be.
Setting Out Points Using Total Station Data
The total station will accurately measure the distances and angles where the setting out points need to be staked. This ensures human error is removed from the staking-out process as much as possible.
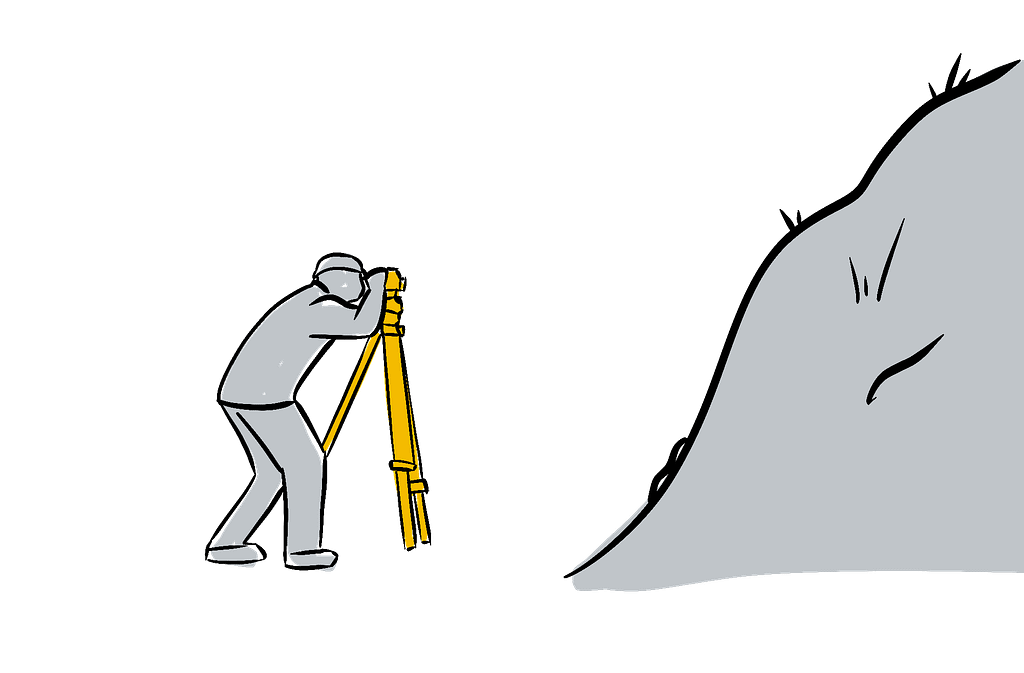
Dealing with Obstacles and Challenges
Anyone experienced with setting out will know that the staking out process often encounters obstacles and other challenges that must be navigated around. The total station can help identify any obstacles that will prevent a particular construction element from being completed. It can also be used to identify alternate routes and angles when an obstacle cannot be removed.
Step 7: Troubleshooting and Tips for Accuracy
In step 5, we mentioned some common total station errors, so let’s examine them further and learn how to avoid them.
Common Total Station Errors and How to Avoid Them
Avoid circle eccentricity by ensuring the theoretical centre of the theodolite’s mechanical axis does not overlap exactly with the centre of the measuring circle.
Avoid horizontal collimation by ensuring the optical axis of the theodolite is perfectly perpendicular to the telescope axis.
Regularly check the total station’s alignment on sighting points for elevations to avoid other collimation errors.
Maintaining Calibration and Accuracy
Maintaining a properly calibrated and accurate total station is the key to avoiding most errors. Conduct regular checks on the plate bubble and the optical plummet, as well as on the horizontal circle and vertical circle. Also, keep a keen eye on the trunnion axis and the EDM to ensure they remain calibrated and accurate.
Tips for Efficient and Precise Setting Out
One of the best ways to maintain efficient and precise setting out is to keep your total station calibrated. Conducting a full check of the total station is best achieved by setting it up over a known point that has a long and clear sight to another known point or more. The same known point can be repeatedly used for calibration and accuracy checks, so long as the known points haven’t been interfered with between checks.
Step 8: Advanced Total Station Techniques
Total stations enable you to use advanced applications in setting out, taking advantage of the latest technology to accurately and efficiently complete the setting out procedure. This speed and efficiency while maintaining reliably high accuracy is the main benefit of using a total station for setting out, but there are even more advanced applications that are advantageous too.
Creating Digital Terrain Models (DTMs)
DTMs allow you to analyse land surfaces by generating a 3D representation of the area. Information on the area can be obtained by using a total station, measuring the size and shape of the terrain, along with any vegetation, building and other objects within the field being modelled. These digital terrain models are especially useful for architects, engineers and surveyors when designing and planning a construction project.
Incorporating Total Station Data into Building Information Modeling (BIM)
While DTMs generate a digital terrain, it is the BIM that constructs a digital version of the building project itself. Your total station data will inform the BIM so it generates a dimensionally accurate model, which architects and contractors can use to plan the works and troubleshoot any potential issues. Integrating total station data in BIMs also improves collaboration and communication between all parties, including any local authorities who need to authorise construction projects.
Step 9: Data Management and Integration
Collecting and storing data is easy with a total station, with the data stored on an internal memory card by the data collector. The data can then be used directly with the total station or exported to CAD software. Simply export the data from your total station via a format such as a CSV file. After connecting the total station to the CAD software, select the import option and the data will be transferred from the total station into the CAD software for analysis.
The ease of this data sharing enables much better communication, especially for large projects with multiple contractors who must coordinate with each other.
Step 10: Best Practices and Safety Measures
Best practice for efficient setting out will vary from project to project depending on the unique challenges faced by the planners and contractors. However, there are several best practices which will greatly benefit most, if not all, projects.
First up is always the planning. Efficient planning requires effective documentation with performance measurements and realistic goals. Achieve this with modern technology wherever possible, incorporating the likes of a DTM and BLM from the beginning. Another best practice is to have a centralised project management structure that will keep everyone on the same page throughout the project.
Ensuring Safety in Total Station Operation
Safety is always paramount in construction, and total station operators will be required to remain vigilant to the dangers.
First of all, always be mindful of your surroundings to avoid accidents. Also ensure the tripod’s legs are handled with care, and wear appropriate clothing for the weather and the terrain. Check that all of your equipment is safe to use before powering it up.
Maintain accurate set-up and levelling of the total station to ensure your own safety and the integrity of the data.
Compliance with Industry Standards
Make it your personal responsibility to remain up-to-date and compliant with all of the latest relevant health and safety standards in your field.
Conclusion
The process of setting out with a total station can be summed up with a quick list:
Know all of your total station kit and equipment
Set up the total station correctly
Prepare the total station for data collection
Set your control points
Take readings of angles and measurements
Process the data for staking out
Process the data for DTM and BIM
Avoid common total station errors
Manage the data for better communication and collaboration
Maintain best total station practices, as well as safety and compliance
While this bullet point list obviously simplifies the setting-out process, the role of total stations in modern construction projects is becoming ever more involved and complex. The technology behind total stations is evolving, and they will continue to make construction projects increasingly easy and efficient.
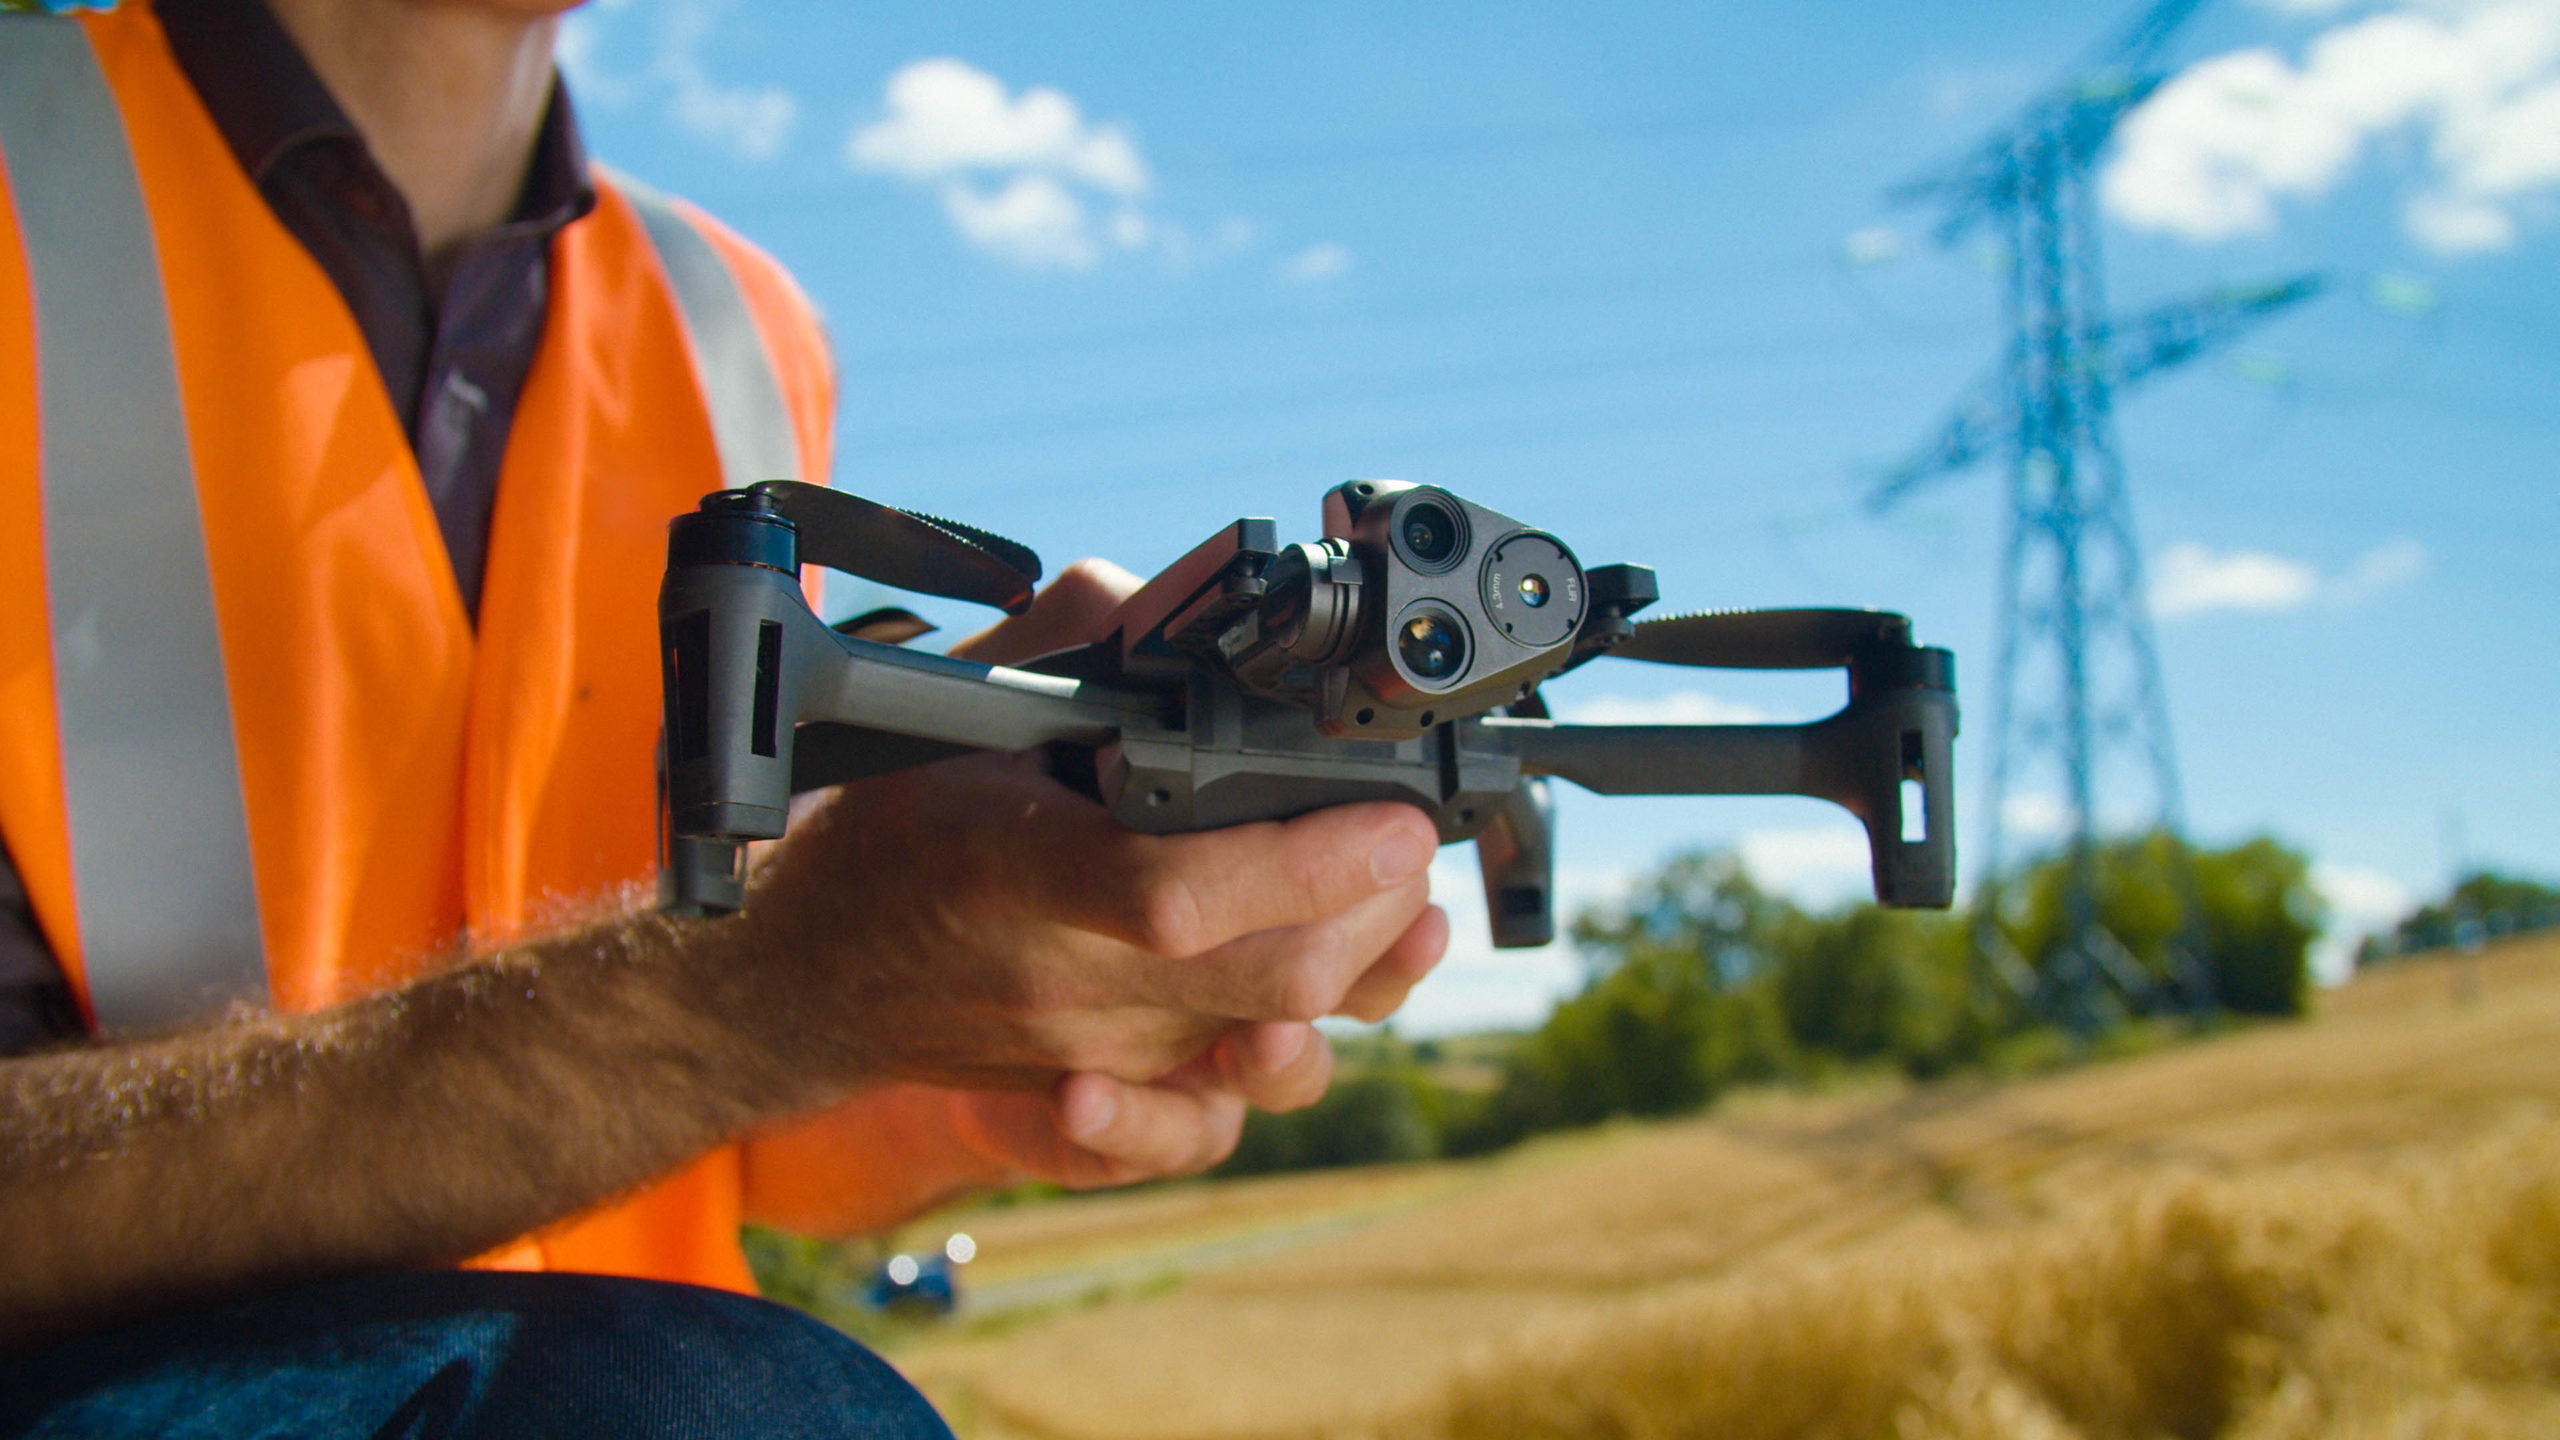
Drone surveying (also called drone mapping, UAV surveying or aerial surveying), is the process of using unmanned aerial vehicles, or drones, to capture aerial data. These vehicles use downward facing sensors,...
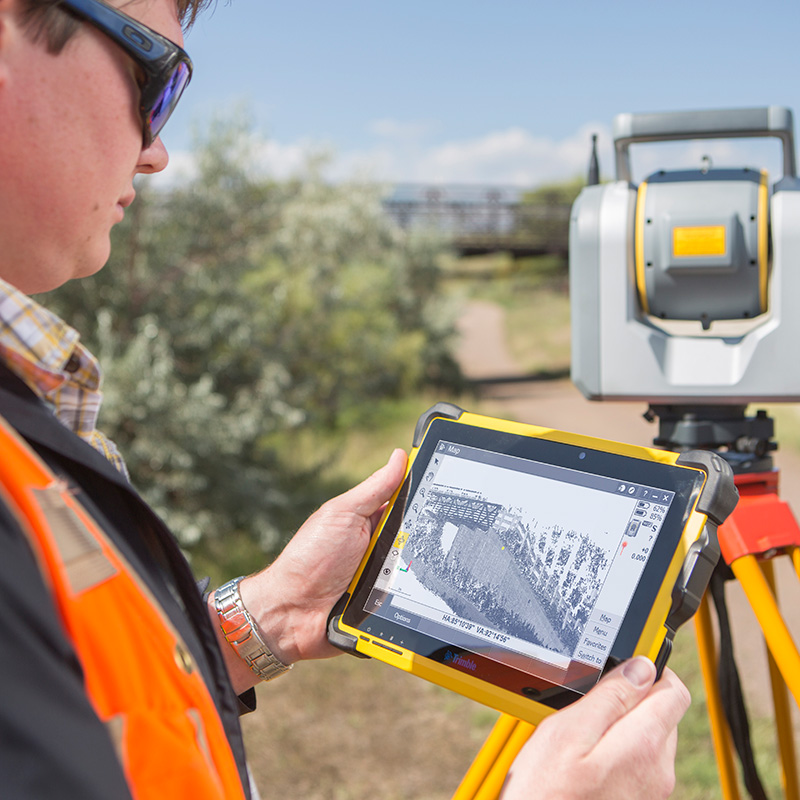
Any professional is only as good as their tools. This is especially true of land surveyors. This profession requires extraordinary exactitude, and the surveying instruments that it requires need to...
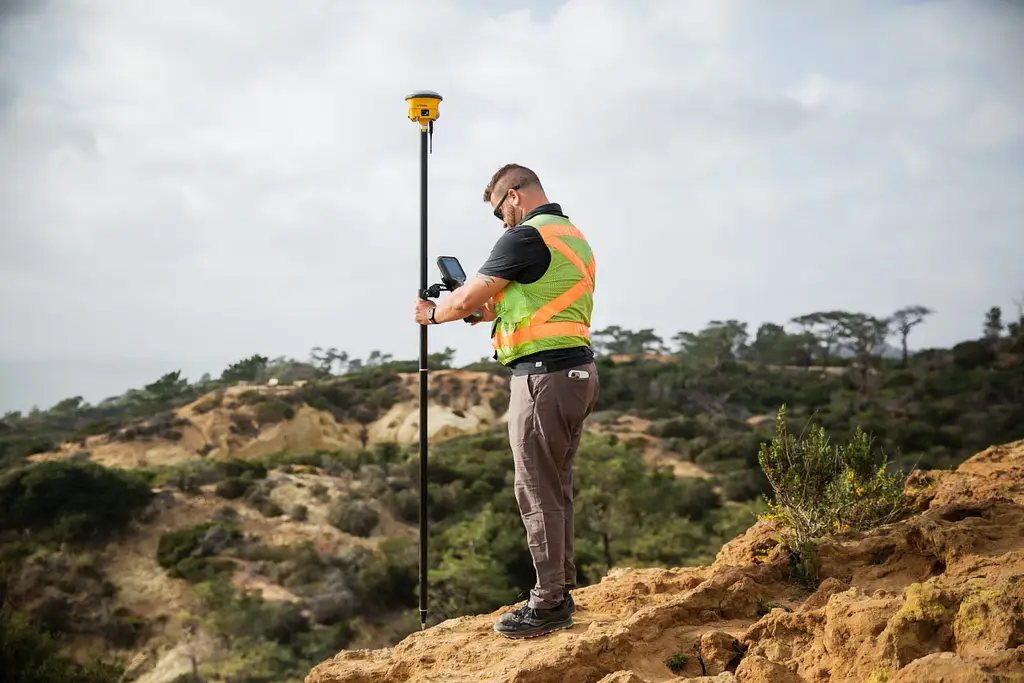
The science of land surveying goes back centuries and its impact can be seen everywhere when you look out of your window. Wherever homeowners need to establish property boundaries, wherever...